
What I love about blogging, is being able to go back and see, what we started with - right through to where we are, today. So let's start with a blog post I wrote back in 2015, called Prolific as a weed.
In it, I show some tiny, Old-man Saltbush, plants, propagated from cuttings...
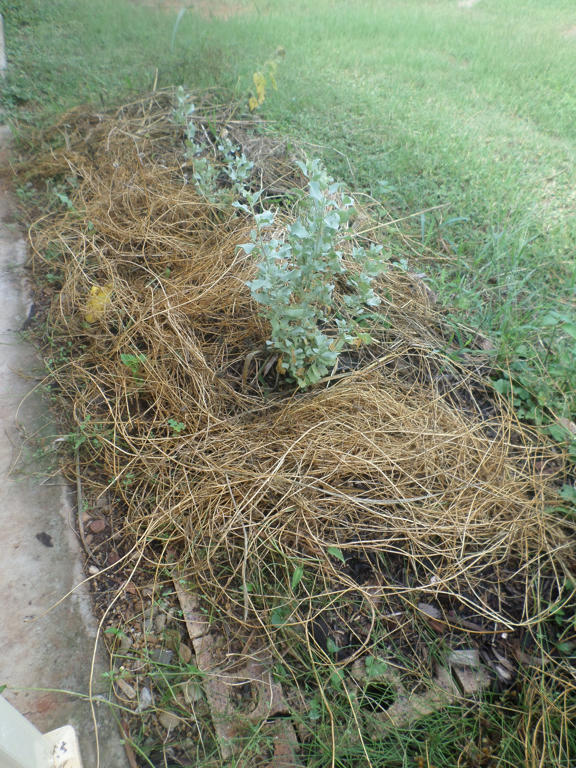
March 2015
I planted 6 Saltbushes, in total, but I'm only showing three at a time. Because they're broken up with an archway. You can see in the picture above, I've mulched them, with pulled weeds from the same bed. I've done this a lot over the years, but especially when I needed to paint the verandah, recently.
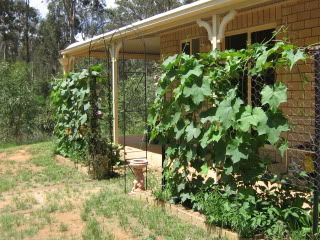
Here is what that same row of Saltbush, looks like, some two years later...

Saltbush and verandah transormation
They seem to do well in this space. So much so, the hedge is in need of a trim. Strong wind, or a lot of rain, could see some of the branches snap off. I guess it can be a bit of a brittle, woody shrub, but only because I prune them.
Normally, their branches would entwine, and it's these gnarly weaving branches, which supports them. Treating it as a hedge means, I have to ensure I always keep them trimmed, so I don't lose branches. More mulch for me though.

Saltbush hedge
I selected Saltbush for this side of the house, because it cops the western sun in the afternoon. It lives off rainfall, and the only thing it requires are those manual hedge trimmers.
Some of the cuttings, go into propagation, a little goes towards mulching the hedge again, - but most get spread around various nearby plants. I can probably get several months coverage of the soil, during winter, and a few months in summer, if rain is about. So it does break down quickly.
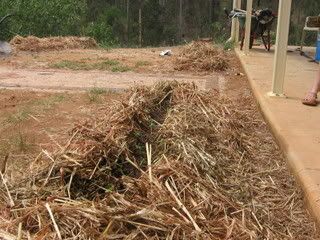
Late 2008
I first broke ground on this western side of the house, back in 2008, with Very lazy, "No dig" beds. Yes, look at all that purchased, uniform mulch. I was starting from scratch though, and decided to plant Sunflowers...
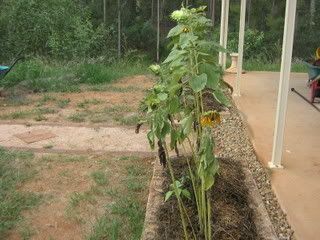
Early 2009
Apparently they did well too - set seed, then attracted the cockatoos. From memory though, I did manage to keep a few large heads of seed, for planting the next year. I also think they got attacked by mould, as I didn't keep them dry. Sunflowers haven't been a mainstay, unfortunately.
For a newly establish bed though, I thought it was a success, and even decided to give it a go as a vegetable area.
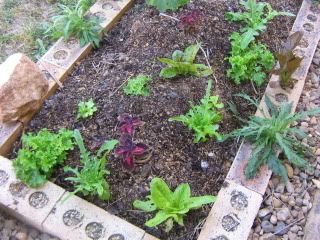
Mid 2009
It was kind of successful too, for a very small window of opportunity. As soon as the heat set in, however, everything would bolt to seed. This was an exposed, dry area, due to facing the western sun. Notice the small, uniform wood chips - purchased from the landscape suppliers? You won't see those around here now.
Because I learned this was going to be a challenging area though, I decided to try yet another approach...
January 2010
The Great Shading Experiement, was the very first plant solution, I tried, for actively introducing shade to this particular area. I hadn't given up on it being a convenient vegetable bed, just yet.
So I tried growing luffa vines, up cheaply made trellises. They were remarkably productive too, but still required a bit of water to keep it that way. As our gardening expanded further into our property, I neglected this area, more and more. Short of installing a permanent irrigation system - I decided to pick the most die-hard plant I could find, and grow it as a hedge.

Six Saltbush, all in a row
Which has been the most successful approach so far. As long as I keep applying those weeds, and it's trimmings, as mulch, I should get quite a few years from this hedge.
I expect at some point, however, it will get woody, and I may lose a plant. So I have to keep propagating them, to ensure I have something to fill the gap.
On to a different location now - the upper, north facing slope, I have found the most challenging to grow...

May 2011
This isn't that spot. It's the temporary nursery, I made out of Middle Ridge chicken coop - but is demonstrating the plant I'm referring to. It's in that clump of large seedlings, to the left. A carob tree.
So I know it's about about six years old (in the ground) as it wasn't planted until 2011.
July 2014
It goes to show I either had a lot of faith this plant would make it, or no faith at all - as the next time it showed up in a photograph, was 2014. A whole, 3 years later.
Over the years, I've mulched it with everything I could get my hands on. This particular vintage (above) was bark mulch we once collected for free, from the Toowoomba refuse centre. Since the tip has relocated, and effectively doubled the time it took to collect (40 minutes now) we've stopped.
It was a good thing too, as the finer particles would clump together, and not allow any moisture to penetrate. So not everything that's free, is actually beneficial.

May 2016
The carob featured again, autumn of last year, as I was out mulching more fruit trees. The post was called Planning ahead, and it showcased my collection of mulching materials again, using what I had available - in this case, a fallen tree or two!
I also managed to toss, what was left of an old pallet and some wattle leaves, around it. This is growing on clay, and my successive mulching, has helped it along.

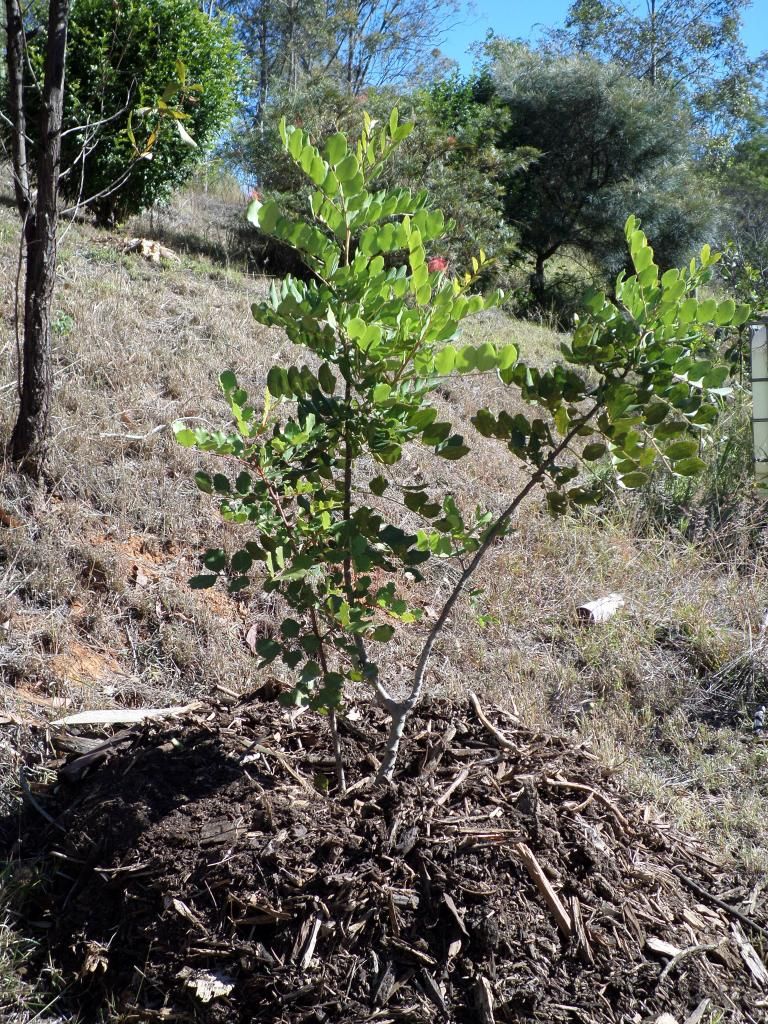
June 2017
And here is what our carob tree, looks like, as of June 2017. I'm sure if it had a much kinder life of abundant moisture and friable soil, it would be a third, to half size bigger! But I'd rather have a tree growing, than no tree at all. So I have to accept, growing in my conditions, will come with a slower growth rate. It's getting them to live, that's the trick!
In the end however, I still get this...

New pods
...fruit production! The first flush came, at about year 5-6. I didn't put it in the ground straight away, so not sure when it started producing exactly. But it falls within the standard expectation of producing fruit, anywhere from 6-7 years. So I didn't do too badly, for it to start producing on the early side.
This will be it's second round of pod production. It had a pretty good first crop, and the pods tasted nice. Not too sweet and not too bland. I'm attempting to sprout seeds, right now, in hopes I can propagate more of this self-fertile variety.
I would like to be able to dehydrate the next pods, and attempt to make carob powder.

Bamboo - June 2017
I already showed this Bambusa Multiplex, in my last post about Mulching Land. This is what is started from, as a wee baby though...
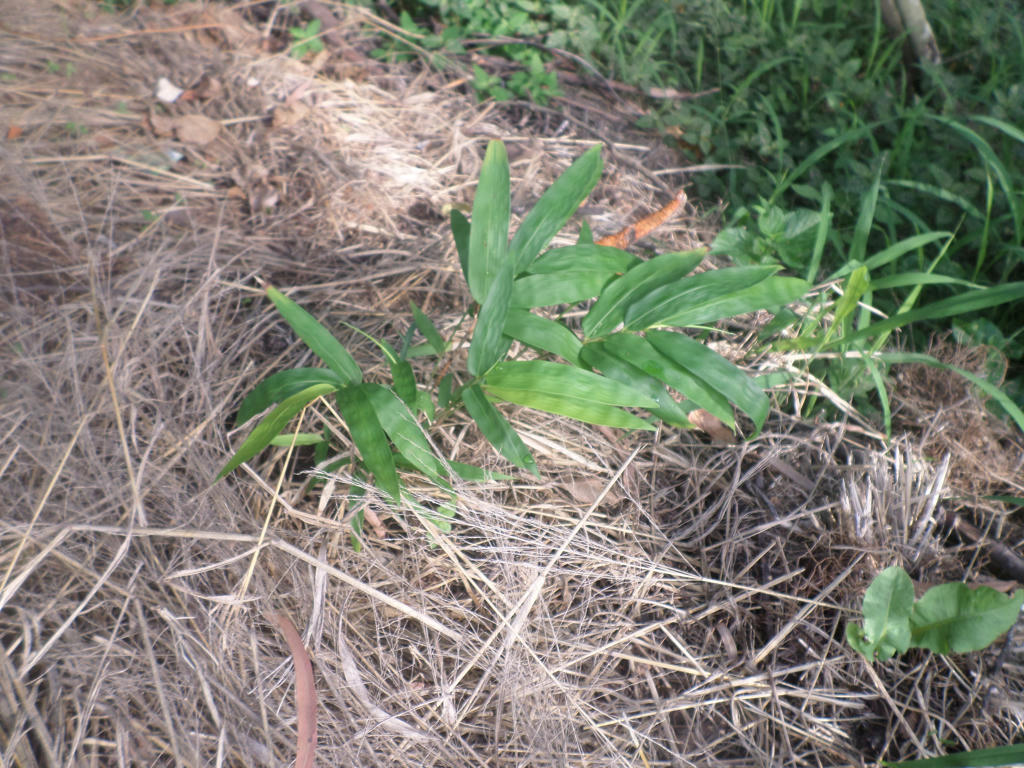
Bamboo - March 2015
Bamboo grows fast, so long as they can hold onto moisture. I have mulched this new seedling with dried grass - something we have plenty of, in the growing season (if the rains arrive).
I'm glad it has done well, considering some bamboo varieties, do better with a lot more moisture available.

January 2011
In my Summer 2011 another season post, I showed several fruit trees I put in the ground. One of which, was a Brazillian Cherry. It also had the unfortunate luck, of being planted on clay.
Thankfully, it's a tough tree, and I moved past mulching with purchased bales (in the picture above) but I had to start somewhere.
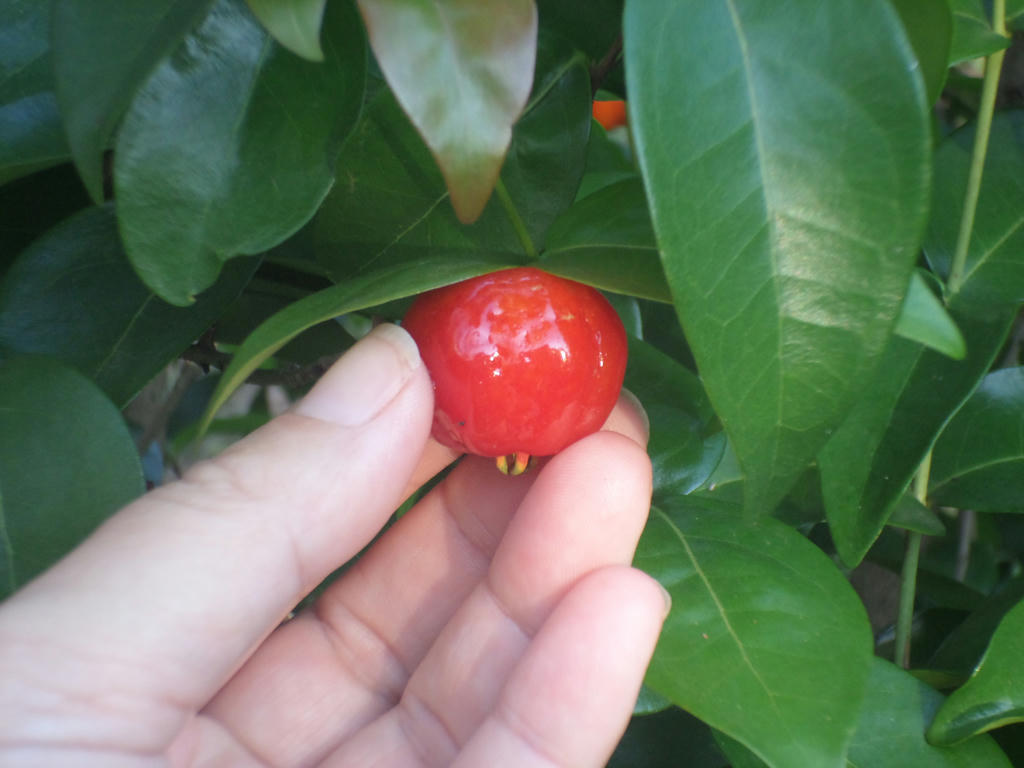
Fruit
We got our first taste of the fruit in 2015, so it was roughly 4-5 years in the ground for that to happen. I cannot emphasis enough, the importance of selecting hardy varieties of plants, if you're growing in harsh conditions. It really makes all the difference.
Mulching helps, but if the plant you're growing is sensitive to moisture requirements, it's not going to save them. So pick the edibles that will work for your normal conditions.

April 2016
The next time we saw our Brazillian Cherry, was in 2016, when I wrote about establishing a new plant I propagated from seed. I mulched it with grass clippings, added some old logs, as a semi- retaining wall, and you can even see the Canna Lilies I planted at the side (Yellow King Humbert), as mulching material as well.
I used a bit of sugar can mulch, but only because I was planting a new seedling next to it. I was buying only a couple of bales a year, and if I had some left over, I used it up. But for the most part, it was whatever I could scrounge from the land. I can't see buying bales of anything, now I appreciate what I already have around me.

June 2017 - Brazilian Cherry (right)
Now in 2017, it's gotten to the size, it's blocking the walkway. We didn't get fruit last growing season though, because it didn't rain for months, a heatwave came, and then when the rain finally arrived, it didn't stop. So bees couldn't get out to pollinate. It was just one of those years.
But I'm happy with it's size, considering they grow anywhere from 2-5 metres.

Under the Brazilian Cherry
At the moment, I'm mulching with a lot of coffee grounds, and a lot more woody material. Out of sheer necessity, now the brush turkey's have moved into our area, and love to dig up all our hard work. I can't blame them, it's an easy feast, compared to what the scrub will offer them.
But the heavy wood, means they cannot scratch it back, and our tree gets to stay mulched!
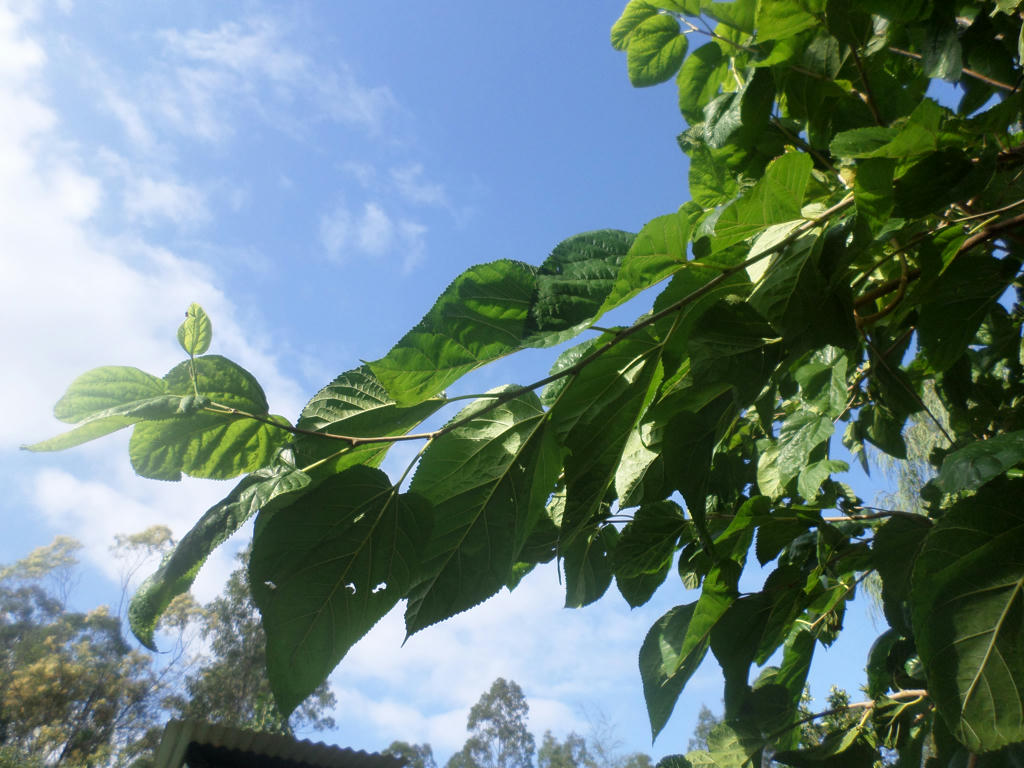
Mulberry, in full leaf
By far though, our best producing tree would have to be a standard, black, mulberry. They are made to survive extremes, and still put on ridiculous amounts of fruit.
I'm sure we planted it, somewhere between 2009 and 2010, because I have photos back then, of clearing the area. But the earliest image I have of it, is in 2011.
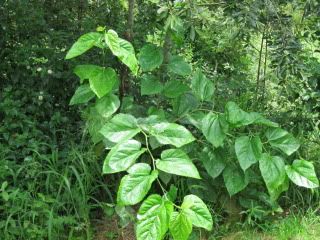
January 2011
I'll say we planted it in 2010, which would make it about a year old, in the above photograph. Mulberries are particularly fast growing, somewhat like passionfruit. Turn your back and it's engulfed something. So it took, no time for it to dominate the area, we set aside.
In the beginning, our Mulberry, really had to contend with some pretty awful conditions...the soil has been scraped back to build our house (2007) and it was dotted with little eucalyptus saplings.

September 2012 - Mulberry, centre
We used those saplings as nursery trees for the Mulberry, in an attempt to reduce evaporation in summer. But our strategy was always to remove the scrub and allow the Mulberry to dominate. The picture above was taken in September 2012. We wanted to use this area more, giving the mulberry more space too.
Of course, our plans are to constantly develop an area. Which often takes years!
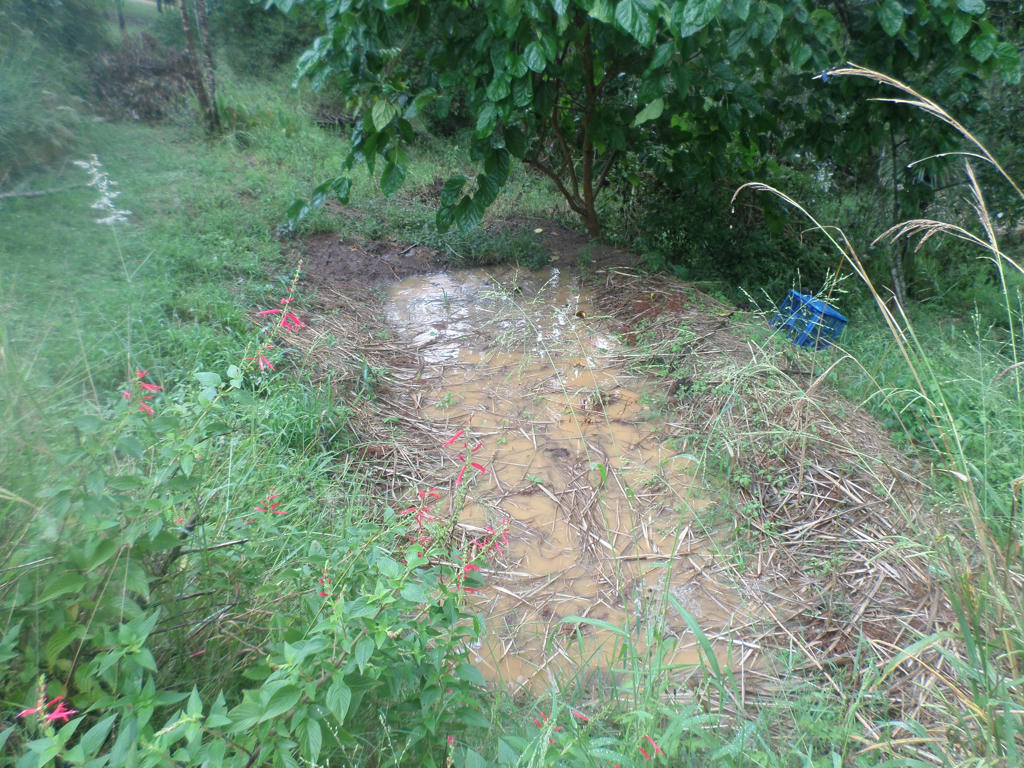
March 2015
In 2012 we were clearing more room for the Mulberry, and in 2015, I was digging a new swale to help irrigate it. Ideally, you would plan this stuff out, and build the swale first, but I hadn't even stumbled upon Permaculture design, when we planted the Mulberry.
We're just fortunate, where we first sited it, didn't require us interrupting much...
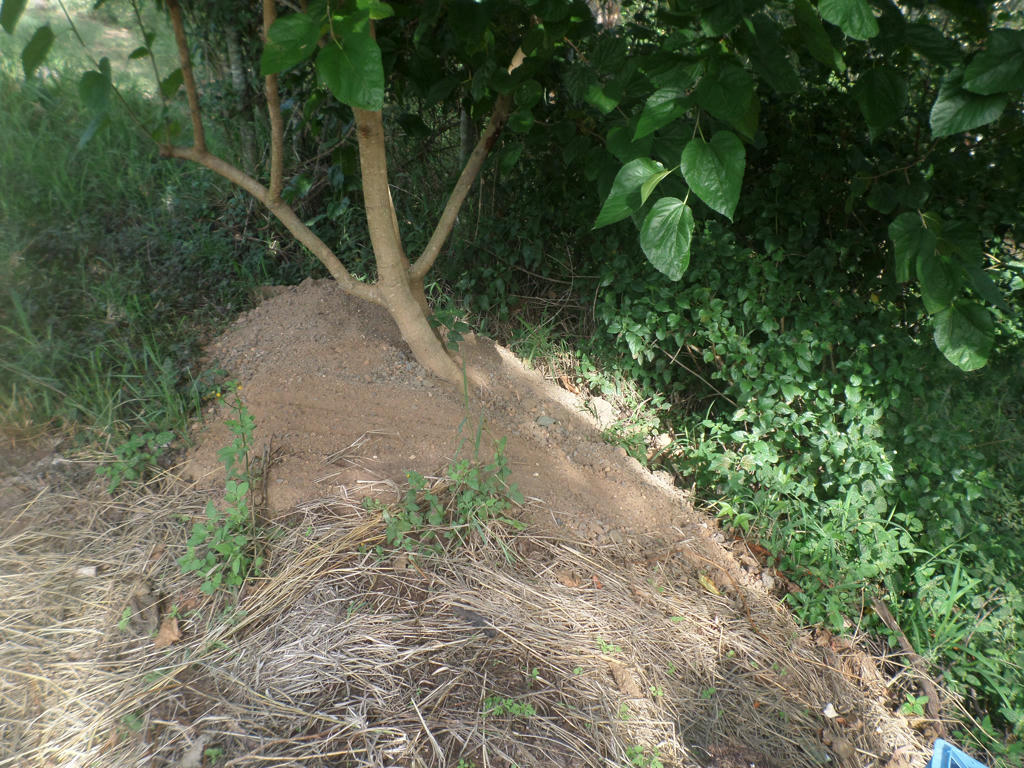
Digging the swale
When I started digging the swale, we had another Mulberry planted, lower down the gully. So it was somewhat of an experiment, placing the soil, so close to the Mulberry trunk. I wasn't sure if it would cause collar rot, or not - and we'd lose the tree.
Thankfully, nothing bad happened to the Mulberry, and it continued to produce fruit. Being the start of winter, it's perhaps not the best time to photograph a Mulberry Tree, but this is what it looks like today...

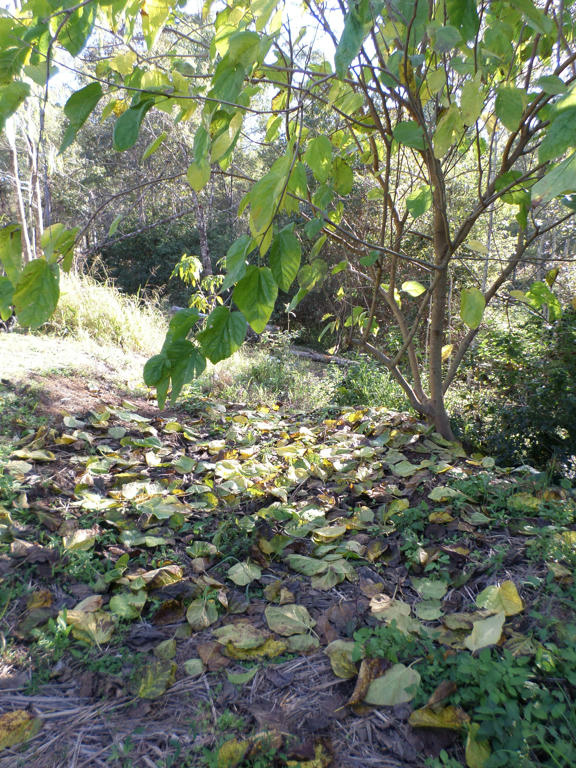
June 2017
It's losing it's leaves which makes it a little hard to define, but it's a lot larger than it was, back in 2012! And of course, it's mulched by one of the best soil conditioners around - deciduous leaves. In this case, it's own.
I wrote about mulberry leaves, being a nutrient bomb, back in late June, 2015.
June 2015
It's one of the best reasons to consider planting a deciduous tree in the garden. Here in Australia, with mild winters, we can have evergreens all year round. But having a deciduous tree means, we get a flush of nutrients, dropped on the plants we want to fertilise. No trips to the landscape suppliers necessary. Nature provides it all.
I hope you've enjoyed this short trip down memory lane. It's amazing how quickly the years pass by. At the moment, we're doing more earthworks, which is why it's takes me so long to post anything. Winter is the perfect weather for digging. But new plants have gone into the ground, which I hope survive too.
I should remember to take the camera out and get some more photos, for my next update - in about 5-6 years time.
Do you have a favourite tree or plant that excels in your conditions? Mulberry would have to top my list, with Carob, a close second.
The tree that has done quite well here for us is the Michaelia Coco. They have glossy green leaves and sweet fragrant flowers that all kinds of bees love. They smell like bubblegum:) They are growing in a South Westerly aspect and have survived drought where other shrubs have not. Meg:)
ReplyDeleteI looked up that plant, and was surprised to see it was a magnolia. I've never grown them myself, but they seem to have a reputation for hardiness. A very lovely plant as a flower display, bee food and natural fragrance in the garden. Nice. :)
DeleteI have been blogging since 2009 and I also love to look back, see what has done well, and a few failures. We moved house, so I can also look at our old garden. Plus ity's a perfect place to see how our grand sons are growing up. Loved your post.
ReplyDeleteThanks MJ. I hope I can call you that? I have a thing for shortening names, lol. I agree, blogs are a great way to see how children grow up. I was going through our old photos, to make this post, and saw our little girl, when she was still a little girl. Now she's a teen! I bet your grandkids, will grow just as quickly too. I'm glad you'll be there to see it. :)
DeleteChris it is certainly interesting to look back on our blogs and see how our plants have grown or not ;-) I feel sorry for anything that has to live off rainfall at the moment although it has become cloudy but I won't hold my breath for too much rain. Our mulberry tree is so very old and my hubby said last year he was going to cut it down but it is still there. He did buy a dwarf mulberry to replace it but it hasn't made its way out of the pot as yet. LOL!
ReplyDeleteYes, it's been dry, hasn't it. Some rain would be nice. I'm glad we have the second rainwater tank. We're not wasting water, but I don't have to worry so much when it doesn't rain for weeks - or is that months? ;)
DeleteI've seen an very old Mulberry cut back to a stump, by the landlord in a former rental. It came back, even better than before! Best thing for that tree was to cut it back to the stump. Made it so much easier to reach the fruit. So maybe plant that new Mulberry, but see if your old one will rejuvenate, after it becomes a stump!