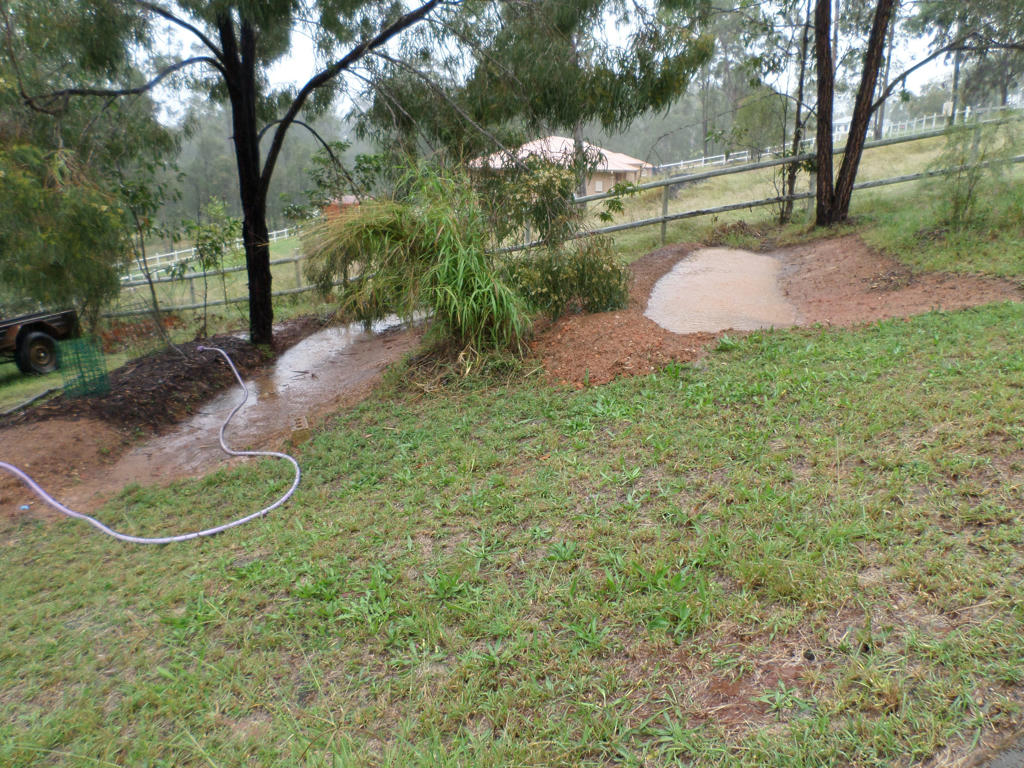
We are starting to plant out a bush orchard on our property line. We tried to do this about two years ago, but the neighbour's goats decimated anything we tried to grow there. One lone
Grevillea (copper rocket) and an
Ivory Curl tree survived the relentless stripping, until we decided to start some serious caging.
The trio of goats died unexpectedly after the Queensland floods, which wasn't an uncommon thing amongst property owners in this region - we lost 3 healthy chickens too. With the eating habits of the goats a thing of the past though (not being heartless, just practical) we're trying to get plants established in time for the Spring flush of growth.
So what's exactly contained in our bush orchard, and what do we hope to achieve with it?
Mandarin in fruit; delicious and nutritious
~ but not native ~
Well it's certainly not like an orchard of European varieties of fruit trees and shrubs, which most backyard gardeners are familiar with (apples, oranges and berries). Rather, it will have only native varieties which produce a crop of native fruits. Some of them can be used by us, in jams, dried or eaten fresh, but for the most part we wanted this bush orchard for the native animals.
Before I get into the whys about the orchard, I wanted to show the layout and some of the plant varieties we've selected. They're only very small at this stage, but still worth recording for future reference. The first plant, is a
Davidsons Plum. Feel free to press on the link for more information.
The fruits of these plums are not as sweet as their European counterparts, but are reported to make a most excellent jam. Something I'm very much looking forward to trying in the kitchen. Another plant we selected for the purpose of stabilising the soil however, is a sandpaper fig.
We hope to propagate it at a later date, for planting along the banks where we get some powerful water flows in storm season. Why is it called a sandpaper fig you may ask? It's leafs actually feel abrasive like sandpaper, and indigenous Australians used it to refine their wooden hunting tools. You betcha, I'm going to get a piece of wood and try this out for myself, only when the leafs are a little bigger!
Next is a peanut tree which is a
rainforest tree, but shouldn't grow too big in this belt of trees.
The nuts inside the fruit are said to taste "nutty", but we wanted it specifically because it's a native food source for birds and a lot of nocturnal animals we don't get the opportunity to see much of, like
bushrats and
bandicoots.
I also have a
Burdekin Plum which I haven't planted yet, but it's also a favourite of fruit bats apparently. Before anyone asks if I'm crazy for wanting to attract fruit bats (Flying Foxes, otherwise known for their ravenous appetite for all things fruit) to our garden, the European trees (like paw paw and bananas) are going to do that anyway. Our native bats which are really quite adorable, actually prefer native fruits over European varieties. We wanted to cater to their natural diet. We'll still have to take measures to protect our other fruit trees, but we're hoping the "lure" to better food is going to keep them happily occupied.
The Lemon Myrtle or
backhousia citriodora, is another bee and bird food source, but it's also a great herb to use in cooking. We're hoping to be able to substitute the leaves from this tree, instead of using bay leafs. After all, the bay tree can get quite big in the ground. A more native solution is going to meet the need with less impact to the environment.
In fact, any impact that will be felt in our bush orchard will be one of mass fertility as every possum,
bandicoot, wallaby, bird, bat,
echindna (yes, we get those too) and many other native animals, feast and drop their dung! This is what we want. We want native animals, filled with native food, dropping their gorgeous native dung absolutely everywhere. They will be our little beasts of burden, carrying their fertility around the property and hopefully spreading it around the region too.
But what about the layout? How does it all fit together? First, our property boundary which is noted by the neighbours white fence below: this faces approximately west. The trees are in a northerly facing line.
A row of new natives in amongst the old
Even in winter, the sun is low enough to penetrate the canopy for secondary plants - or lower growing shrubs such as
grevilleas,
westringas and
rosellas. All plants we hope to add more of once the trees get a bit more growth on them.
At this stage it's just a straight slope too, but we're already dropping leaf material, branches, dead grass and soil on the contour to create
swales. These are not intended to be engineered for precision, or to catch and store large amounts of water. They're more to alter the energy of water running straight down the hill and to capture at least a small amount of moisture to last through times without rain.
The beginnings of a swale, which is just dead grass at this stage
The area above was the first section we actually developed when we first moved here, before the goats arrived. It has an emu bush (front) a
westringia (mid) and small
gumnut (rear) for
honeyeaters and bees. The large dried
gumnuts are great for craft, or just to have around the house for decoration:
I'm sure the ones which are left on the ground, turn into great humus eventually and make great
hidey places for bugs and microbes too! Which is one of the reasons we're actually dropping the branches to make
swales, rather than burning them off which seems to be a common practice in this area. Even though natives tend to decay slowly (especially
eucalypt material) it's important to note we're not growing European trees here. The aim of this orchard is to feed the natives, which includes insects and microbes - burning off plant material, only robs the soil of it's evolutionary entitlement.
Felled acacias and eucalypts
but the dark-brown bark of the ironbarks remain
It's part of the reason we've also left some natives in this belt too. Endemic to this area (or use to be before land clearing and development took over) were
ironbark trees. I love these trees with their gorgeous rough bark. The cockatoos love this tree for the very same reason! It's a great
hidey place for bugs and when you've got a beak built like a commercial sized nut-cracker; you've got no problems stripping back the bark to get at them!
We are looking forward to seeing how this bush orchard develops and the interaction the native plants have on the soil. We've planted straight into natural dirt here, with only compost and gypsum added to help with acclimatisation. We hope to see the grass recede eventually to the shading of the natives, creating natural humus that only this landscape can appreciate fully.
Our garden bandaid over a massive cut and fill site
In stark contrast however, look at this area in-front of our house: the garden is maturing slowly to keep the soil in place, but it's not designed to feed natives. It will be a pretty garden and it has multiple purposes (all vital
and functional) but the inputs in this patch of land were enormous!! First the earth mover which cut the land for the house to be built, then we had to erect the retaining wall and plant out; now we're tweaking the drainage to avoid water wiping out the garden again, like it did in the horrendous floods we experienced
late last year and earlier in January.
Compare that to our efforts in this bush orchard, and it's laughably minimal. We've only had to remove a few spotted gums and acacia saplings (by hand)
mown the grass in the growing season and mulched with bark. Eventually we won't have to mow this area at all - the system will look after itself.
Which is why Dave and I are looking forward to seeing how this experimental plot goes. We don't mind working hard, but we also don't like working against nature either. Been there, done
and doing that,
LOL! We hope to learn a lot from this new form of gardening, so that we can actually grow better European food trees as well.
There is much to learn from our native
predecessors.

