It's now April 2015, nearly 7 months after I first started, and I feel like I've really turned a corner now...
Concrete step #1
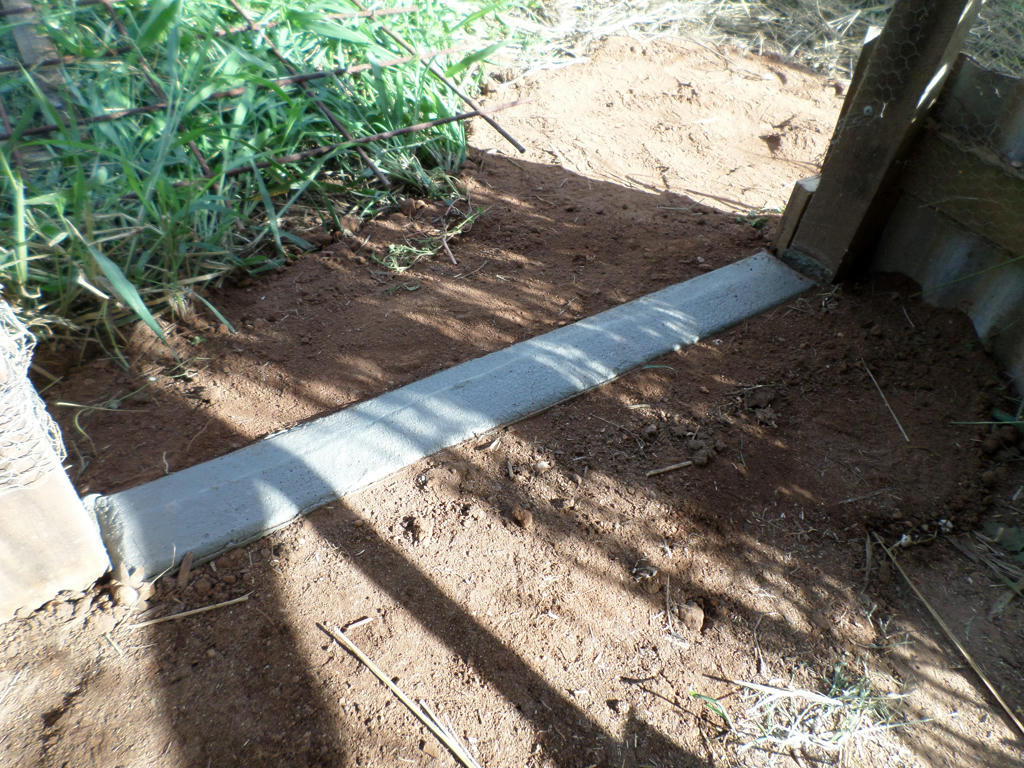
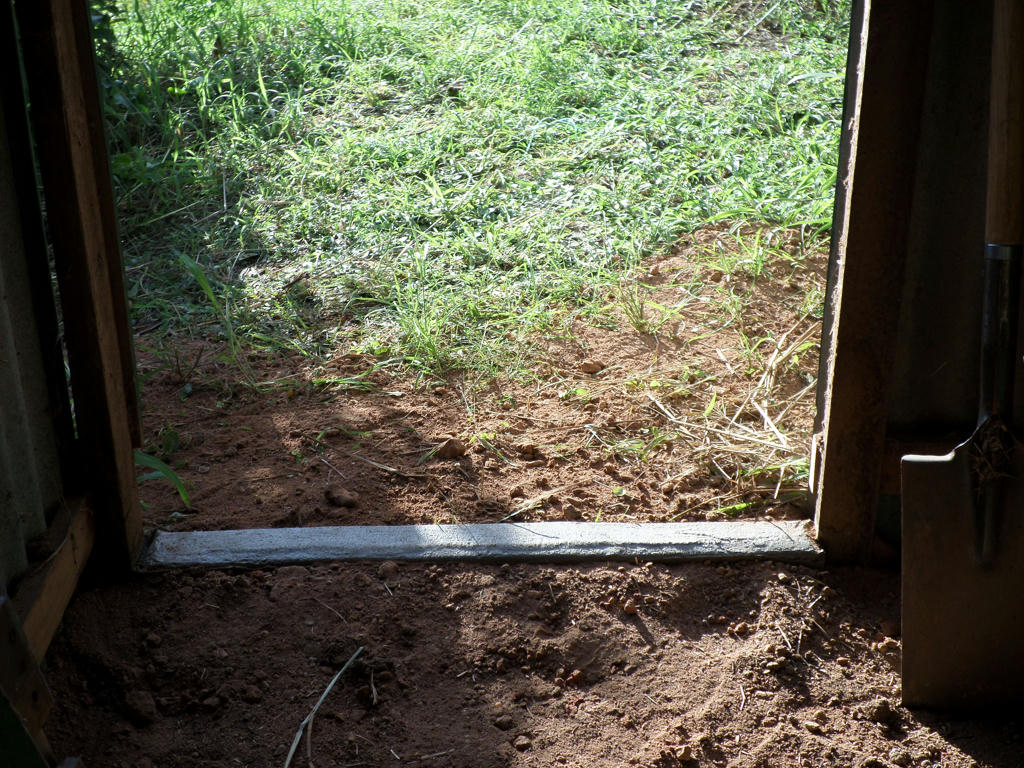
This is the last of the big jobs! I finally removed the raised tin ledge at the doorways, and put in a concrete step instead. You don't know how much work went into something so subtle, you could miss it if you stepped over it.
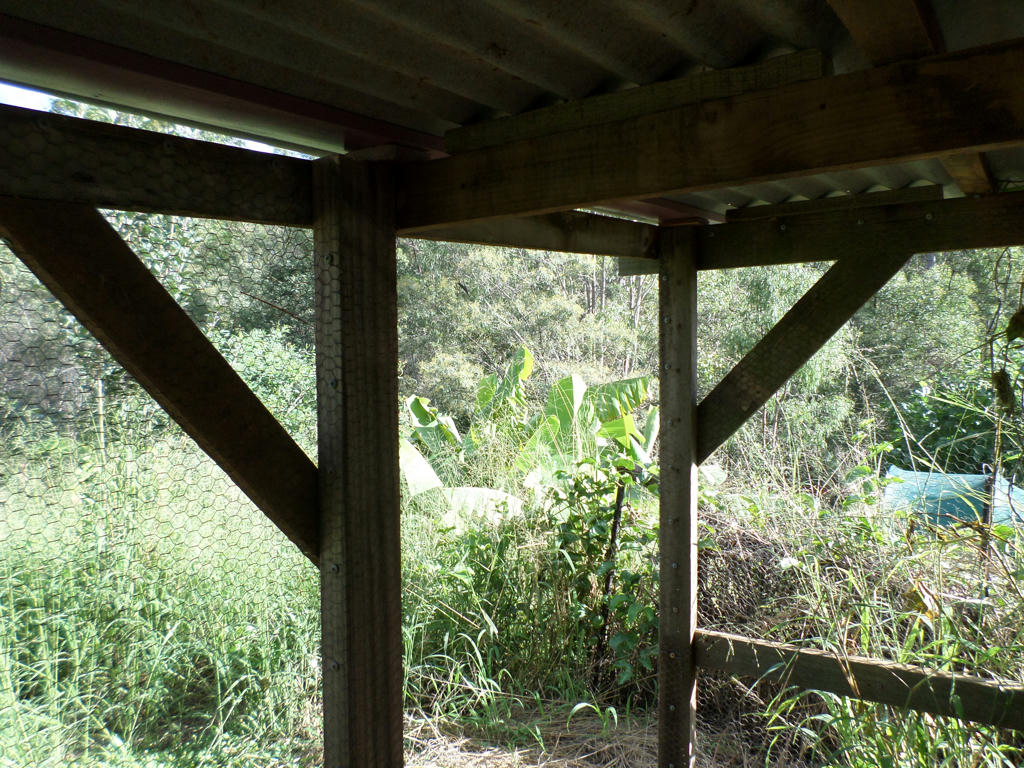
With David's help, I concreted the first step. I was a little nervous about doing this, because it required digging down, between the two posts. So I put in some poor-man's braces to help keep the posts in check.
Doorway braced
It was a good way to use offcuts and they will be a permanent feature. I didn't have to worry so much about removing a large chunk of dirt between the two posts now. Notice, I finally got that roof back on?
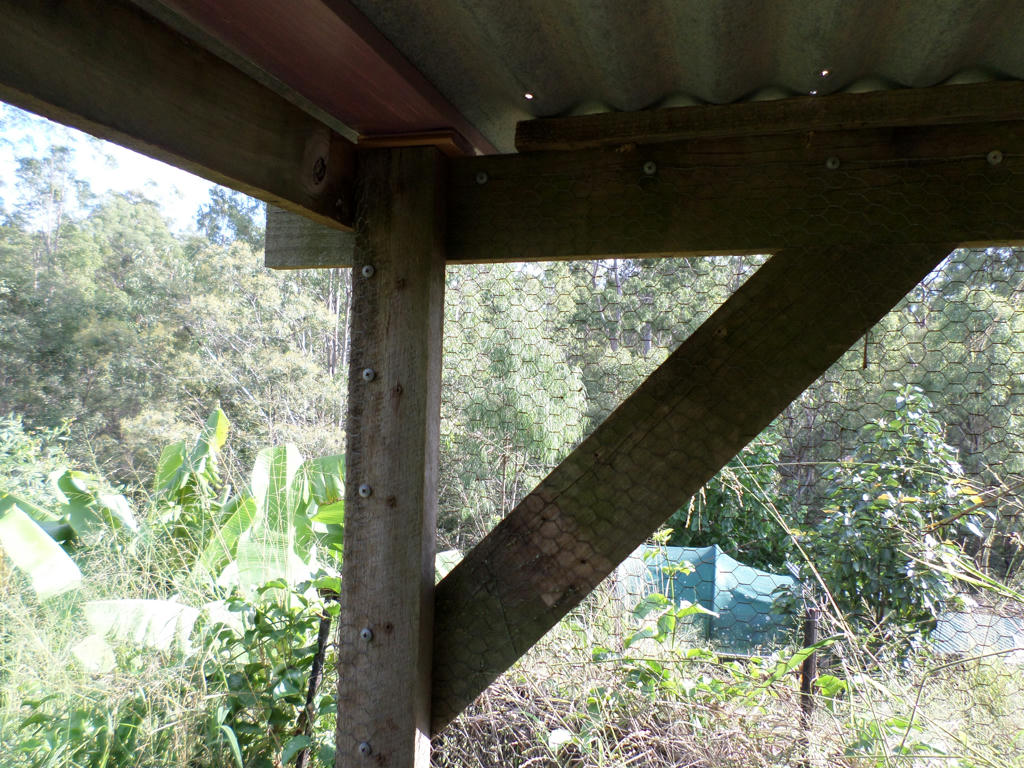
Braced
This a a close-up of the brace in the corner, and you can see the shade structure of Middle Ridge chicken coop in the background. The chickens will be moving up here soon. I only have to rehang the doors now.
The process of the first ledge didn't get photographed, because I was too busy trying to figure out how to make it work. I managed to get photos of the second doorway, however.
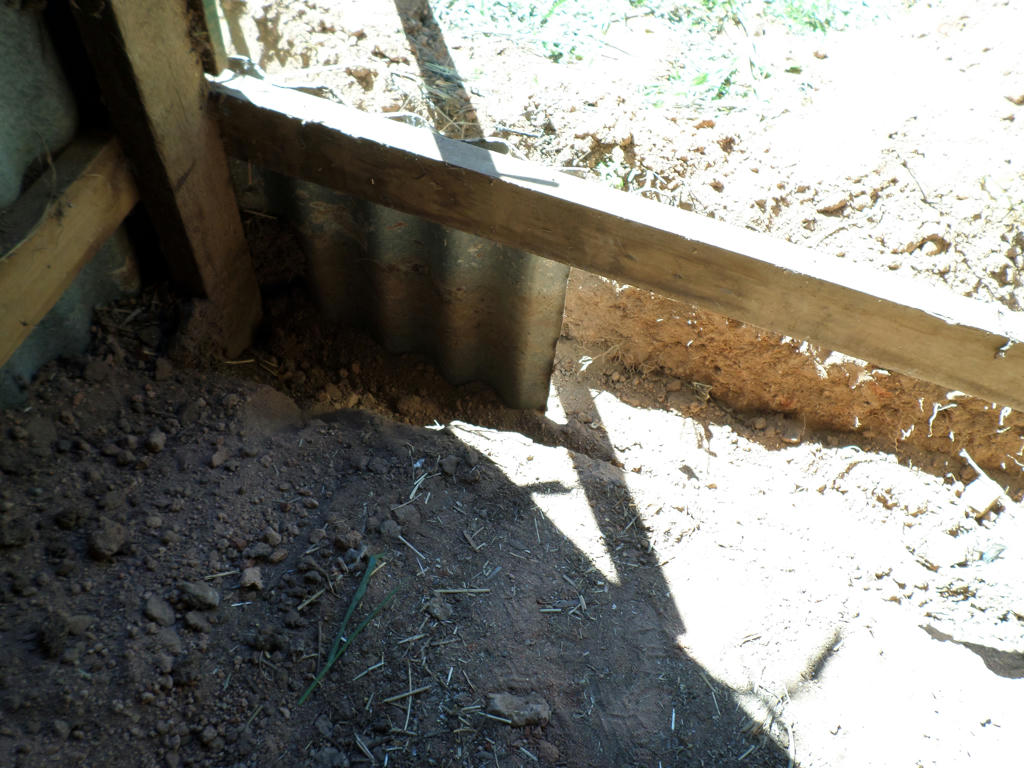
Before deconstruction
This was the original step. The idea was to help contain the dirt, the mulch and with the tin down about 30cms under ground, it would deter digging animals like foxes or dogs. Which it has to date.
Although, it wasn't so great for wheeling barrows in to clean out the coop, which was part of the reason for starting the renovation.
During deconstruction
So began the process of unbolting, unscrewing and digging down to get the tin out. It was very awkward in such a tight space, to swing a mattock but I persevered and eventually got the tin out.
Once it was out of the way, I could finally dig the dirt properly.
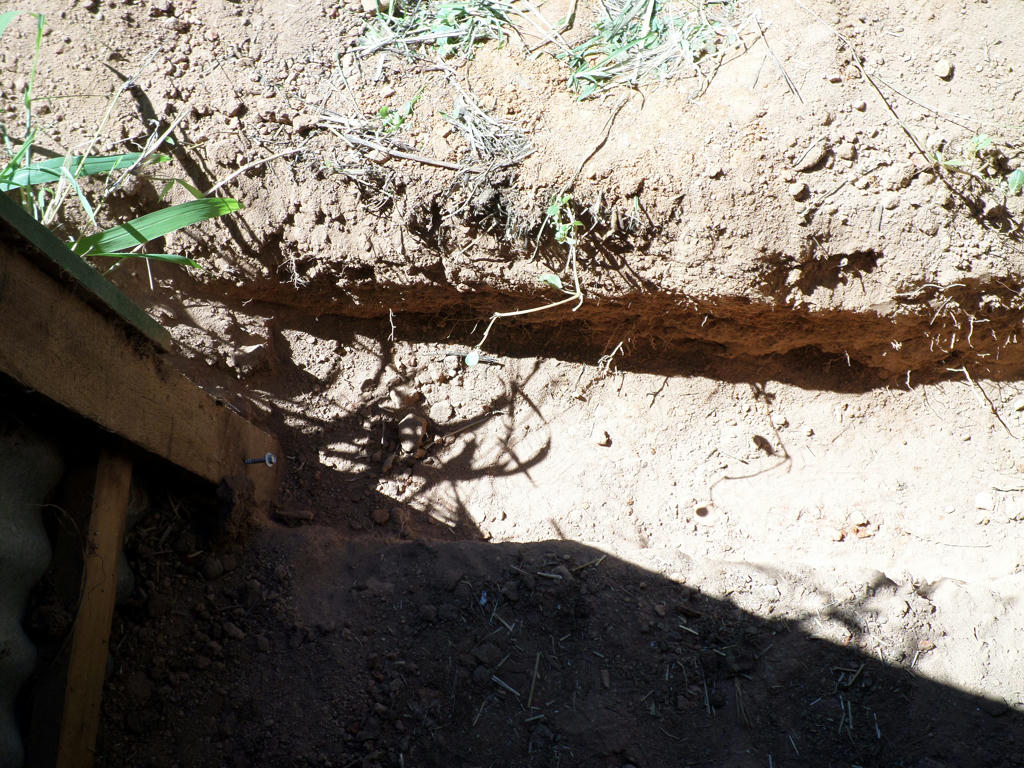
Digging down
The trench was wider than the actual concrete step was going to be, but that's just how the process dictated. I had to use a mattock and needed space to get my shovel in too. It will surprise anything which attempts to dig at the doorstep though, as they'll go down a few centimetres, then hit concrete.
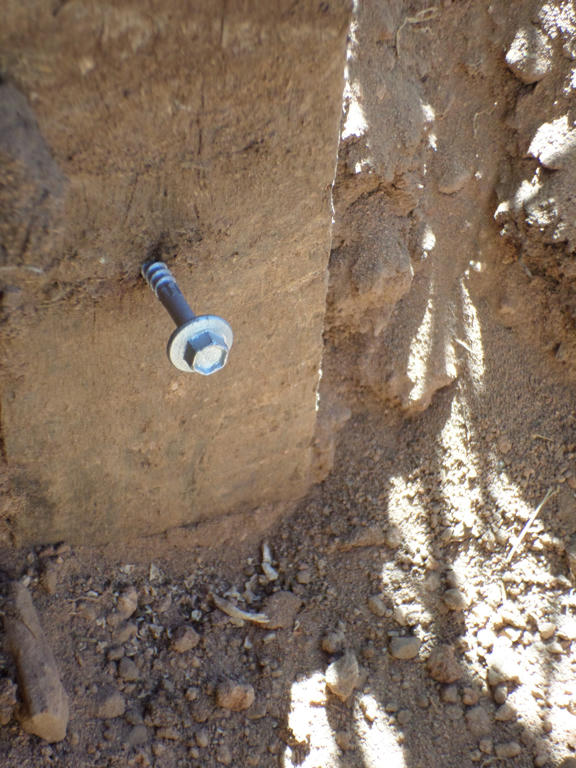
Anchor
Before I could concrete, I put a roofing bolt through the posts on both sides. It's actually on an angle, but this photo doesn't show it clearly. These bolts will help anchor the posts to the concrete step. It may not have been necessary, but it tied the structure together and that's what I wanted.
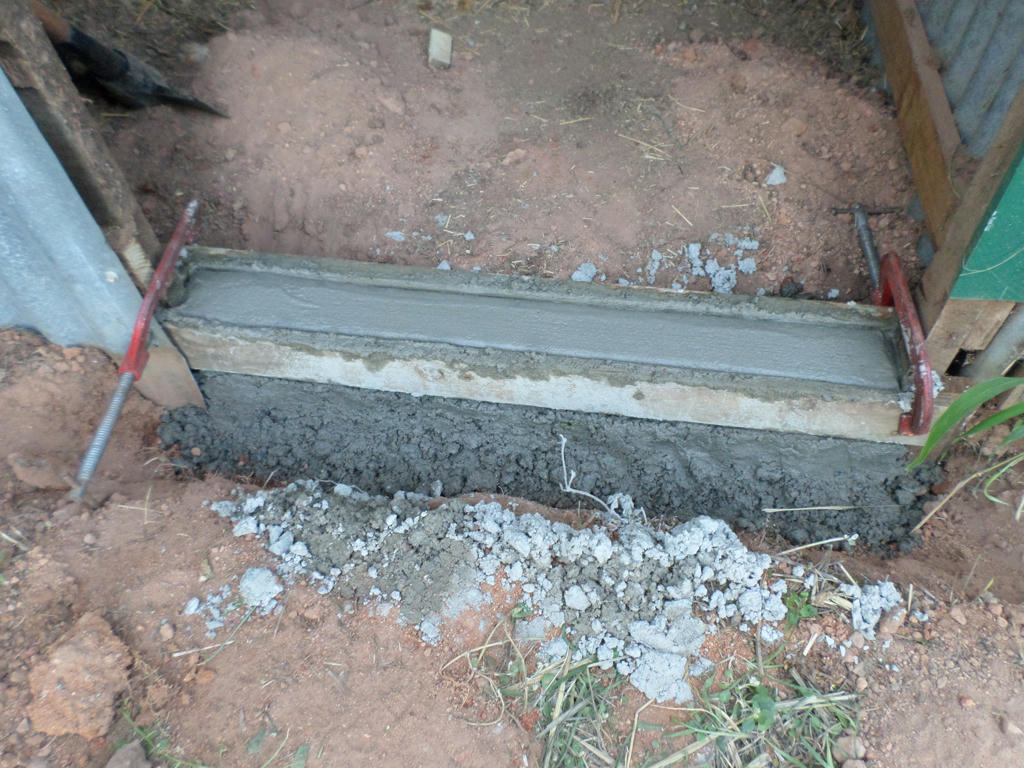
Boxed and poured
You can see in the image above, how I made the box for the concrete. I had to use large clamps to hold the wooden sides to the post. Using stakes to hold the box, in such a tight area, would require long ones that could possibly get in the way of pouring the concrete. Clamps just worked better.
You can also see the concrete below ground. I had to make a thick mix, which isn't easy when you're mixing by hand - just so it wouldn't slump down. I then used my trowel and edger to finish the top surface. A day later I could remove the brace and put the dirt back into place.
Finished #2
It looks so subtle and yet it was incredibly involved. Especially mixing the concrete by hand. We used a tarp and a shovel, which was remarkably effective for mixing small amounts of concrete, but oh-boy, it certainly worked the back muscles!
Lest we forget I'm actually on a building site...
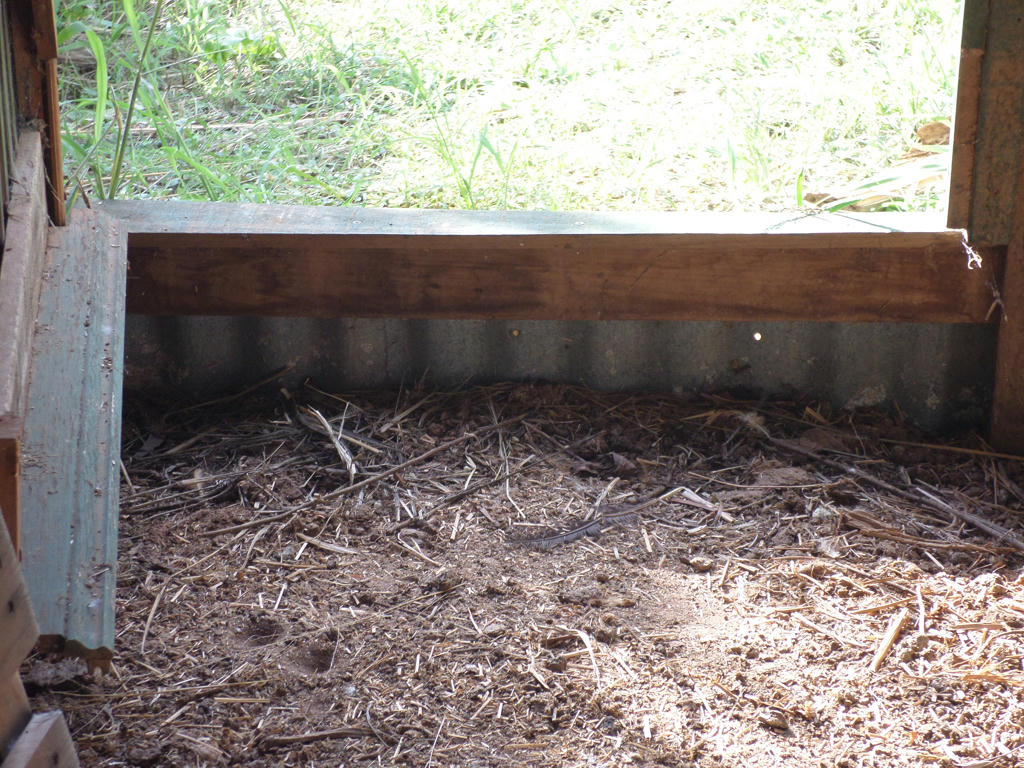
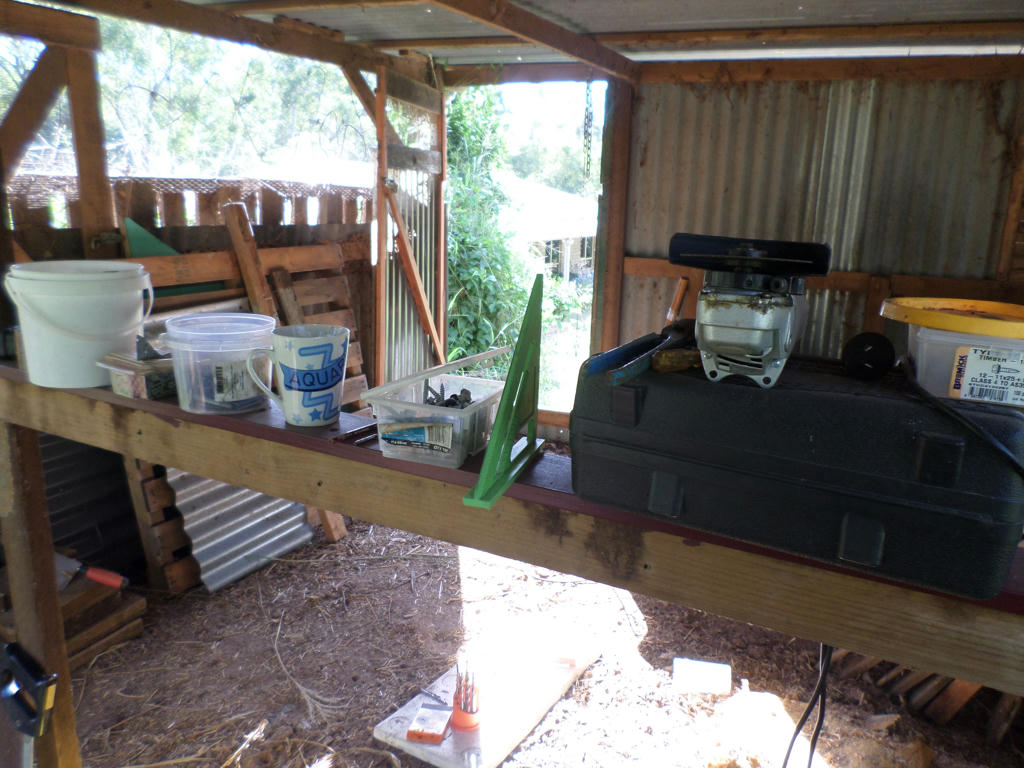
Mess!
This is what the inside presently looks like. No place for chickens or toddlers. The roost makes a good bench for my tools and buckets of bolts though. Hopefully it won't be long until I get those doors lowered and rehung, so I can clean up the inside!
Not quite finished, but almost.

Wow! What a good job you've done! I remember Hilltop from way back. It looked imposing and I was envious. It will be good to see it finally finished. (I'll probably still be envious ;-) )
ReplyDeleteIt certainly feels like way back, lol. You've got a good memory. :)
ReplyDeleteI thought you did an excellent job on your chicken accommodations too. What matters is that we keep the predators out and the chickens in, making sure to collect eggs while we're at it. ;)
Great work. I admire your wood working and engineering skills! If I ever need to dig a tunnel to a gold mine, I'll call you;)
ReplyDeleteHa-ha...I reckon I could build one of those rickety mine shafts. ;)
DeletePerhaps but I was referring to the brilliance of bracing the ceiling! I might have thought of that but I somehow think I wouldn't have.
DeleteShucks, thanks. :)
DeleteYou know, when you first announced you were probably selling this place and moving, I really felt sorry about the chicken house! I thought it was so sad it wouldn't be finished after all your hard work. So this post was great to see. I'm really impressed with what you've done!
ReplyDeleteIts a lot easier working on Hilltop, knowing we're going to be staying to enjoy it. Feels completely right. :)
ReplyDelete